

Hello Guys! few days ago, I was working on a project of planning and deployment for ElasticSearch Cluster + NodeJS on Microsoft Azure Infrastructure by using Windows Server virtual machines. Below is my client requirement:
I have developed an application in NodeJS + Elasticsearch. I need to deploy it on Azure. The application will have heavy traffic, so the deployment architecture should be scalable. The OS has to be windows if VMs are used.
For Elasticsearch, windows server VM cluster can be setup
For NodeJS application, one of the following deployment options can be excersized:
Deployment on Windows VM with Load Balancer and Auto Scaling Group configuration
Deployment to App Service for REST Node JS App
Note: I don’t want to host ElasticSearch Cluster on linux VMs. I need Microsoft Windows Server VMs.
With the above requirement, I started googling and I didn’t find any article to Setup and deployed ElasticSearch Cluster on Windows Server Infrastructure. Just found articles on Ubuntu. So, I planned to work on this requirement myself and after a huge struggle I succeeded.
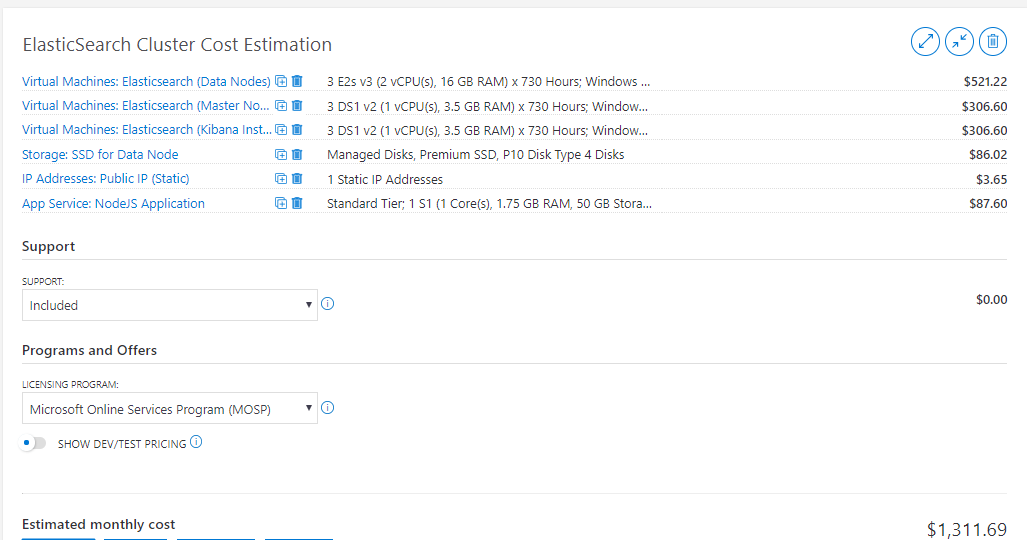
ElasticSearch Cluster + NodeJS App Sizing and Cost Estimation on Azure
| Service type | Custom name | Region | Description | Estimated Cost |
| Virtual Machines | Elasticsearch (Data Nodes) | Canada Central | 2 E2s V3 (2 vCPU(s), 16 GB RAM) x 730 Hours; Windows – (OS Only); Pay as you go | $5221.22 |
| Virtual Machines | Elasticsearch (Master Nodes) | Canada Central | 3 DS1 v2 (1 vCPU(s), 3.5 GB RAM) x 730 Hours; Windows – (OS Only); Pay as you go | $306.60 |
| Virtual Machines | Elasticsearch (Kibana Instance) | Canada Central | 3 DS1 v2 (1 vCPU(s), 3.5 GB RAM) x 730 Hours; Windows – (OS Only); Pay as you go | $306.60 |
| IP Addresses | Public IP | Canada Central | 1 Static IP Addresses | $3.65 |
| Storage | 4 SSD Disk (2 for each) Data Node | Canada Central | Managed Disks, Premium SSD, P10 Disk Type 4 Disks | $80.02 |
| App Service | NodeJS Application | Canada Central | Standard Tier; 1 S1 (1 Core(s), 1.75 GB RAM, 50 GB Storage) x 730 Hours; Windows OS | $87.60 |
| Monthly Total | $1,311.69 | |||
| Annual Total | $15,740.23 |
NodeJS Application Deployment and high-level steps
Below are the requirement to complete this deployment:
- Require an Azure Subscription (PAYG/CSP/EA)
- Create a new Resource Group in Canada Central Region
- Create an App service plan (1 core, 1.75GB RAM)
- Create Web App services
- Deploy Node.js code
- Testing and validation
Deploy NodeJS WebApp from Azure ARM Template
I have created a custom Azure ARM Template for WebApp deployment. You can download the template from my GitHub Repositories.
Download Link: https://github.com/adeelaleem/nodejs.git
Please follow below the steps for deployment:
- Connect to your Azure Subscription via PowerShell.
Note: If you are aware with this step, skip to step 2.
1.1 Azure PowerShell requires your connecting machine to be running PowerShell version 5.0. To check, run command $PSVersionTable.PSVersion and confirm the Major build is 5.

1.2 The next step installs the required Azure PowerShell modules from the PowerShell Gallery. Launch PowerShell as an administrator and run command Install-Module AzureRM.
1.2 The next step installs the required Azure PowerShell modules from the PowerShell Gallery. Launch PowerShell as an administrator and run command Install-Module AzureRM.

1.3 You will be prompted to install NuGet if you have a version earlier than 2.8.5.201 or do not have it at all. Type y and press Enter.

1.4 To trust the PowerShell Gallery as a repository, type a and press Enter.

1.5 After a few moments numerous AzureRM modules will download and install on your machine.
1.6 Once complete, issue command Import-Module AzureRM.

If you get following error then run Set-Executionpolicy -executionpolicy unrestricted

Enter y to apply policy settings, and issue command Import-Module AzureRM again.

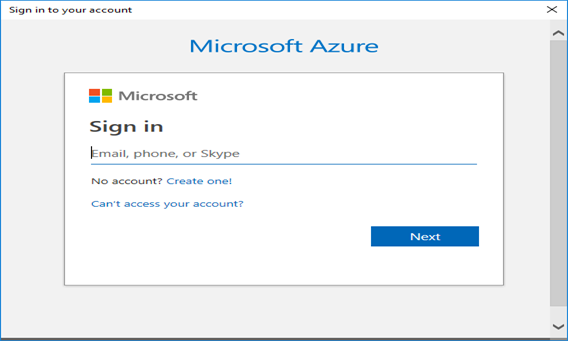
1.7 Now run command Connect-AzureRmAccount.

Enter credentials to manage your Azure tenant.
1.8 If successful, you will be returned some information from your tenant. Run a test command such as Get-AzureRmTenant and confirm that they issue correctly.

2.1 Extract the provide package “NodeJS” and place on drive D of your local complete.
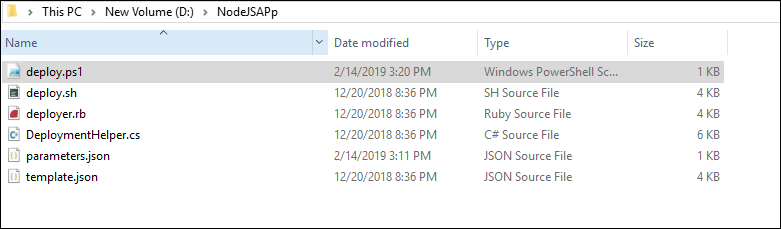
2.2 Open Administrator: PowerShell. And connect the directory.
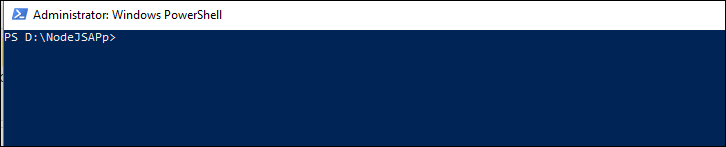
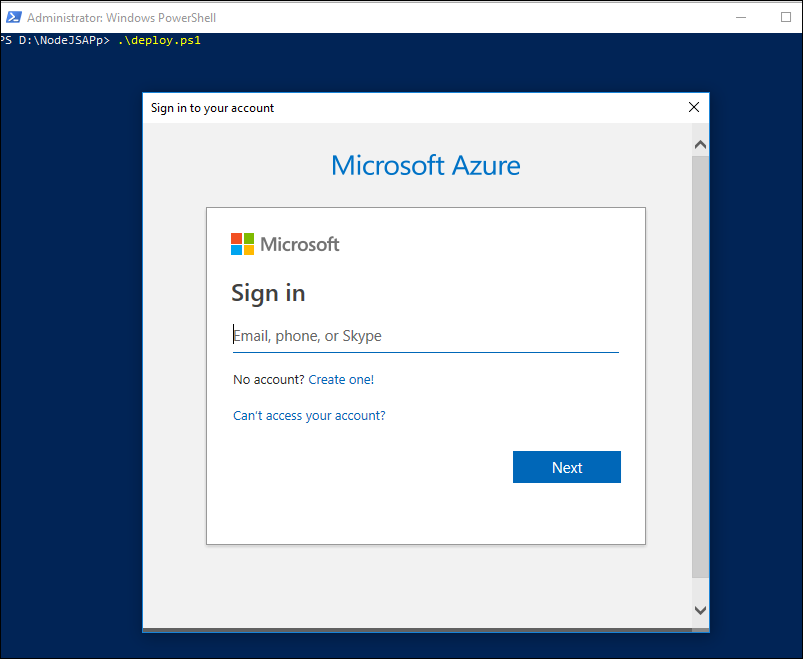
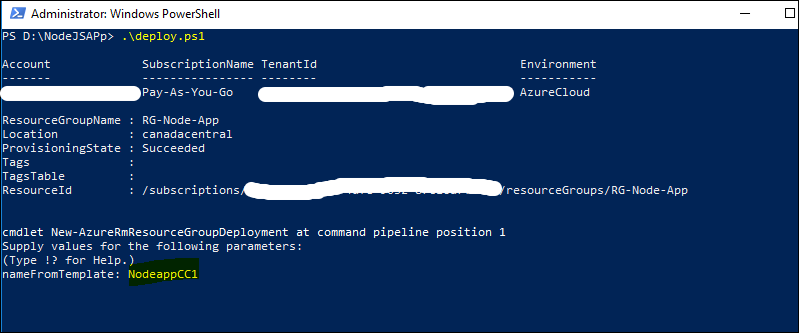
2.3 Select PowerShell deploy.ps1 script and hit enter.

2.4 Enter your Azure credentials.
2.5 Enter to Start deployment.
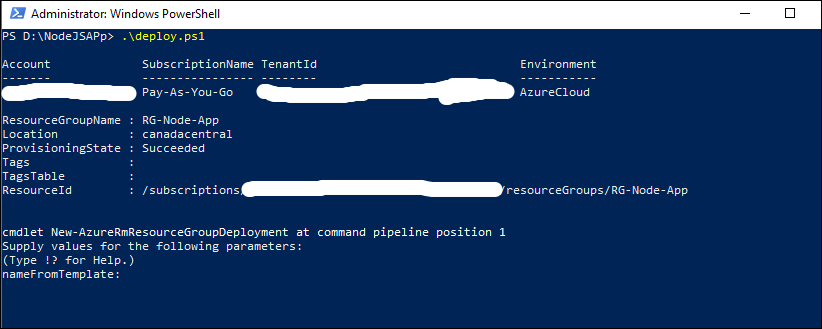
2.6 Provide suitable name to your app. As if, we provide NodeAppCC1.
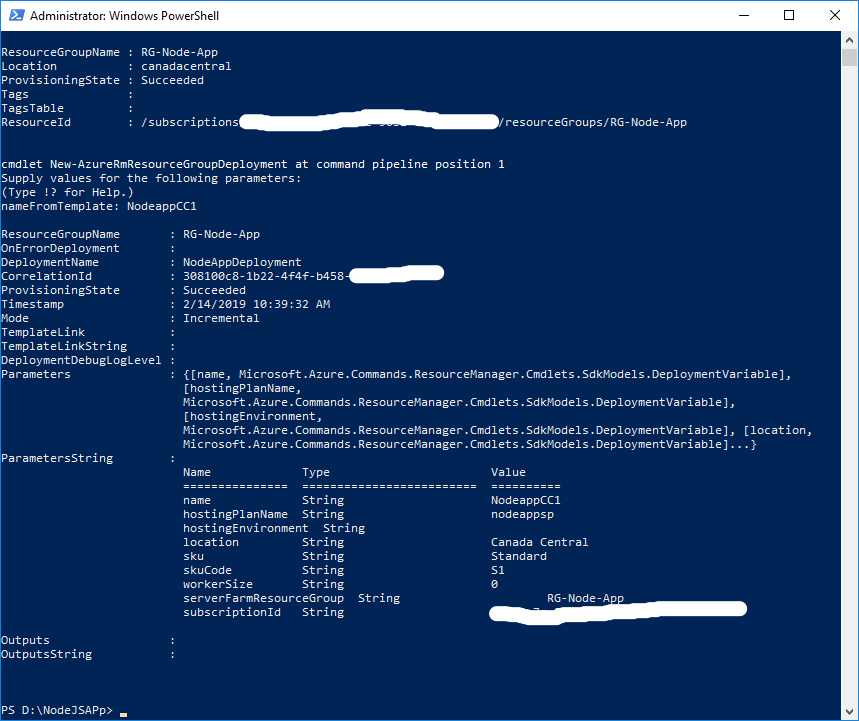
2.7 Deployment will took a while to complete. And succeeded message with details will be appear as following.
ElasticSearch Deployment and high-level steps
Below are the requirement to complete this deployment:
- Require an Azure Subscription (PAYG/CSP/EA)
- Create a new Resource Group in Canada Central Region
- Create 1 virtual network, address space and subnet
- Create Elasticsearch Master node (3 virtual machines)
- Create Data node (2 virtual machines)
- Create Kibana node (2 virtual machines)
- Create 2 SSD disks for each data node
- Create Storage account for Diagnostic boot log
- Create 3 Availability sets, each for Master, Data and Kibana VMs
- Create 1 Public IP address
- Create Network security groups for Data and Master nodes
- Create 1 Internal Load Balancer
Deploy ElasticSearch Cluster on Windows Azure Virtual Machines
I have created a custom Azure ARM Template for ElasticSearch Cluster deployment. You can download the template from my GitHub Repositories.
Download Link: https://github.com/adeelaleem/elasticsearch
This template deploys Virtual Machines, Storage Accounts, a Virtual Network, Availability Sets, Public IP addresses, a Load Balancer, and Network Interfaces.
Once you setup your infrastructure on Azure with the provided template, Please follow the below instruction to Install ElasticSearch on Windows Virtual Machines.
Installation and Configurations of ElasticSearch 6.6.0
First of all, download “Java SE Development Kit 8” and “ElasticSearch 6.6.0“.
Servers Details & Configurations
Below are the details of servers and roles:
| SR.NO | VM-NAME | Resource Group | Location | Private IP | Public IP | Roles Installed |
| 1 | elasticsearch-data-vm0 | ElasticSearch-RG | Canada Central | 10.0.1.4 | – | Data |
| 2 | elasticsearch-data-vm1 | ElasticSearch-RG | Canada Central | 10.0.1.5 | – | Data |
| 3 | elasticsearch-master-vm0 | ElasticSearch-RG | Canada Central | 10.0.0.10 | – | Master+Ingest |
| 4 | elasticsearch-master-vm1 | ElasticSearch-RG | Canada Central | 10.0.0.11 | – | Master+Ingest |
| 5 | elasticsearch-master-vm2 | ElasticSearch-RG | Canada Central | 10.0.0.12 | – | Master+Ingest |
Installation of Elasticsearch 6.6.0 on all server step- by-step
Server: master-vm0 [10.0.0.10]
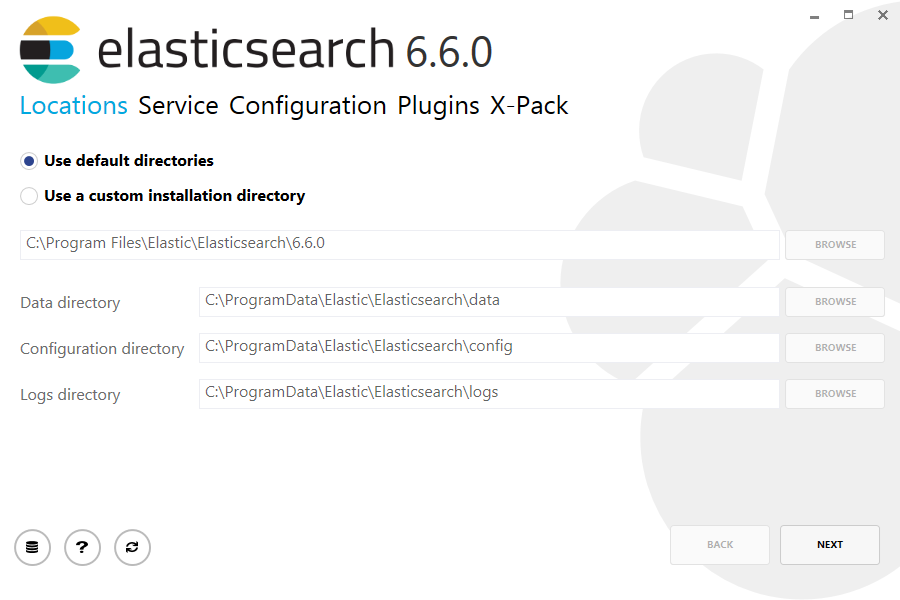
Open the MSI file and select “Use default directories” option and click Next button

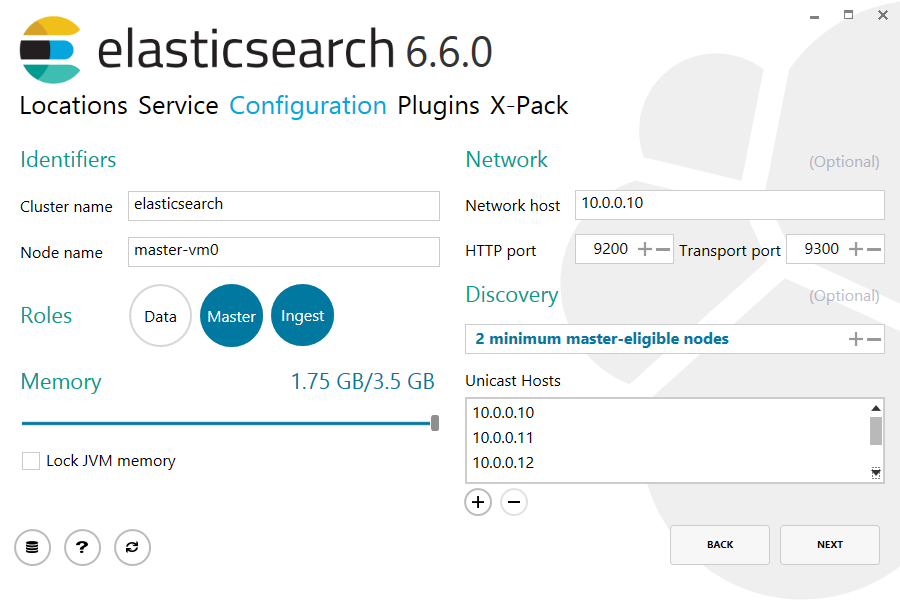
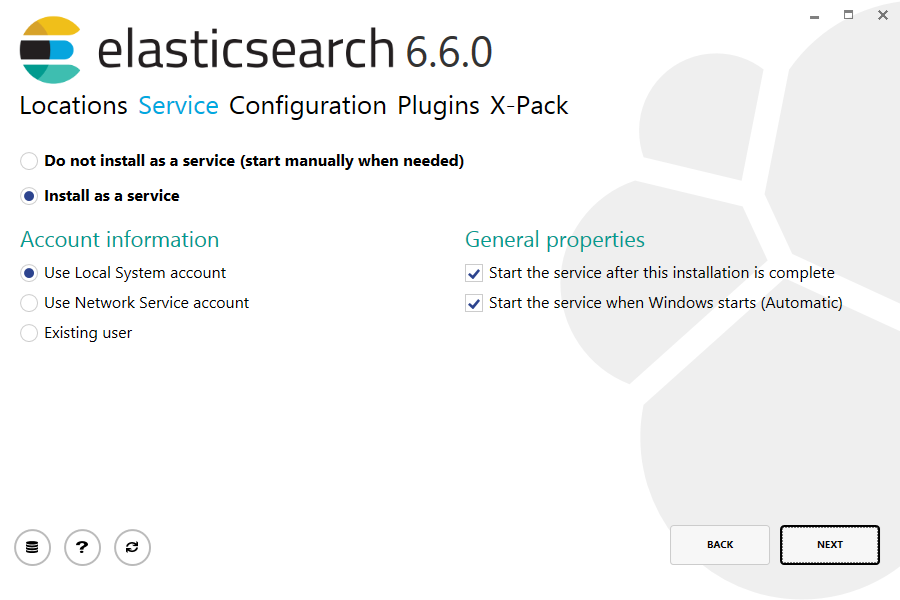
Select options as described in given below image:

Choose cluster name, node (VM) name, Host IP, and Port number. Select “Master” and “Ingest” Roles for this node
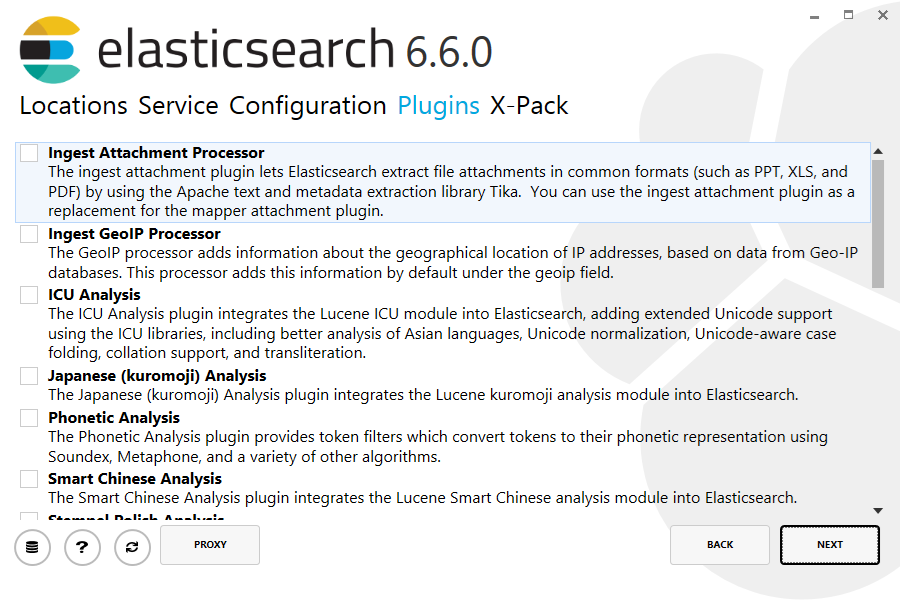
Leave default Plugins setting and click Next button
Click on “Enable X-Pack Security” and then click Next button

Now elasticsearch has successfully installed
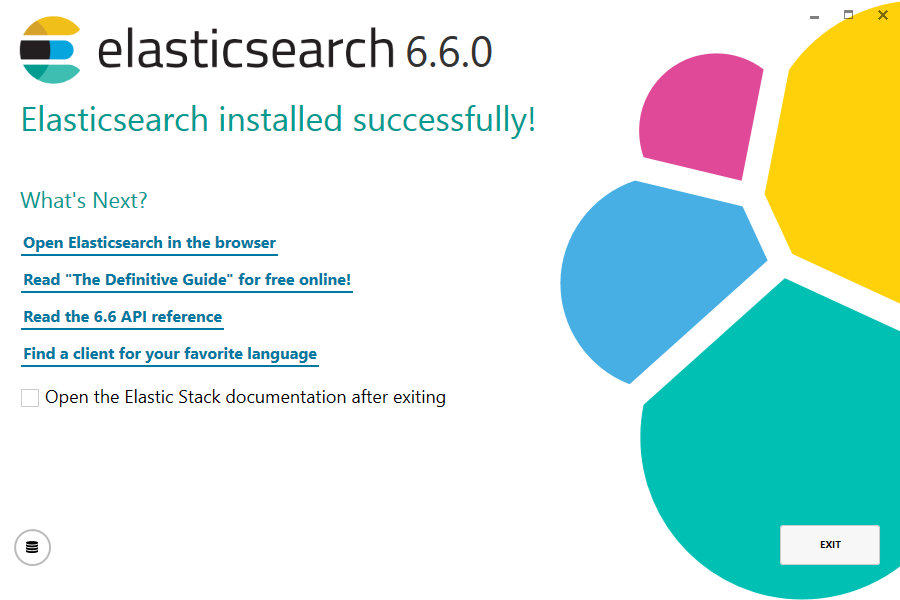
To verify, open web browser and type the IP address and port number, you should see like below screen
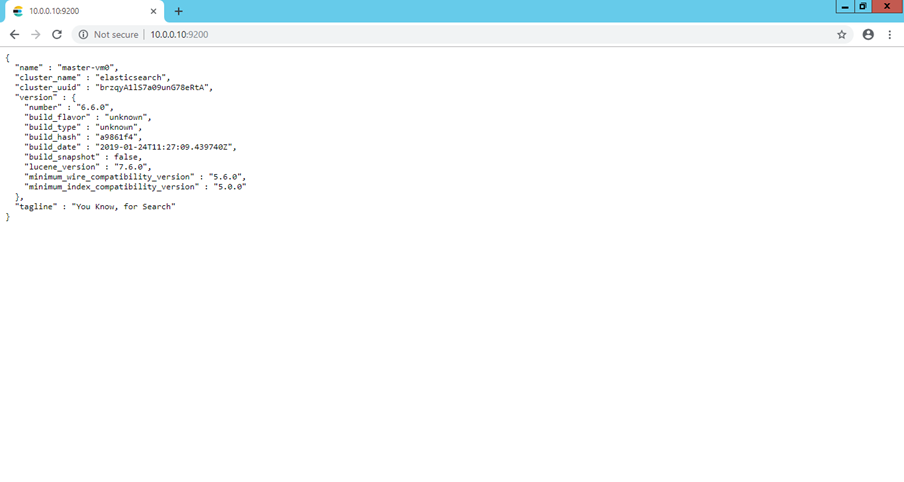
ElasticSearch “Master” and “Ingest” roles has installed on “elasticsearch-master-vm0“. Now do the same above steps on “elasticsearch-master-vm1” and “elasticsearch-master-vm2” for installation of Master + Ingest roles.
Server: elasticsearch-data-vm0 10.0.1.4
Now, we’ll install “Data” role on “elasticsearch-data-vm0” and “elasticsearch-data-vm1″
Open the MSI file and select “Use default directories” option and click Next button
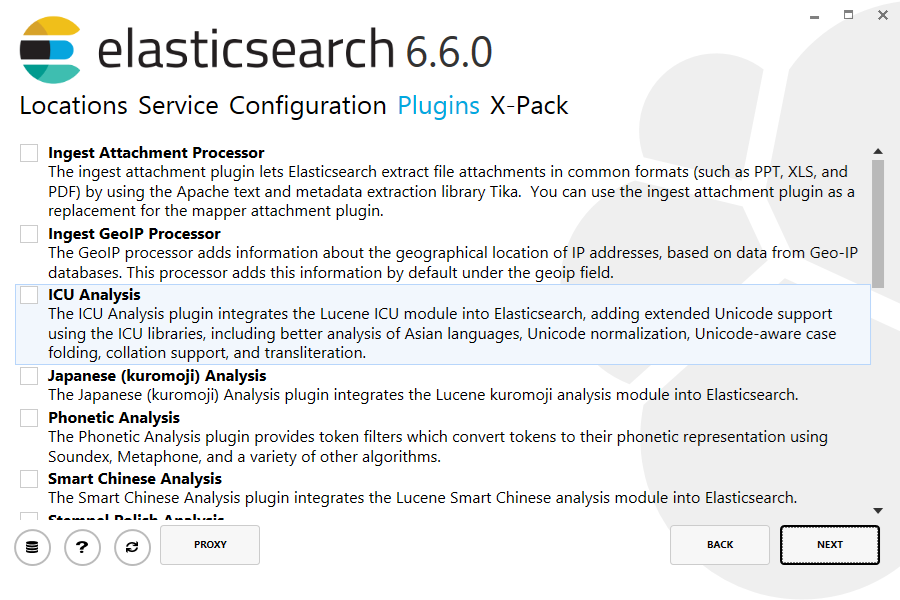
Select options as described in given below image:
Choose cluster name, node (VM) name, Host IP, and Port number. Select “Data” Role for this node

Leave default Plugins setting and click Next button
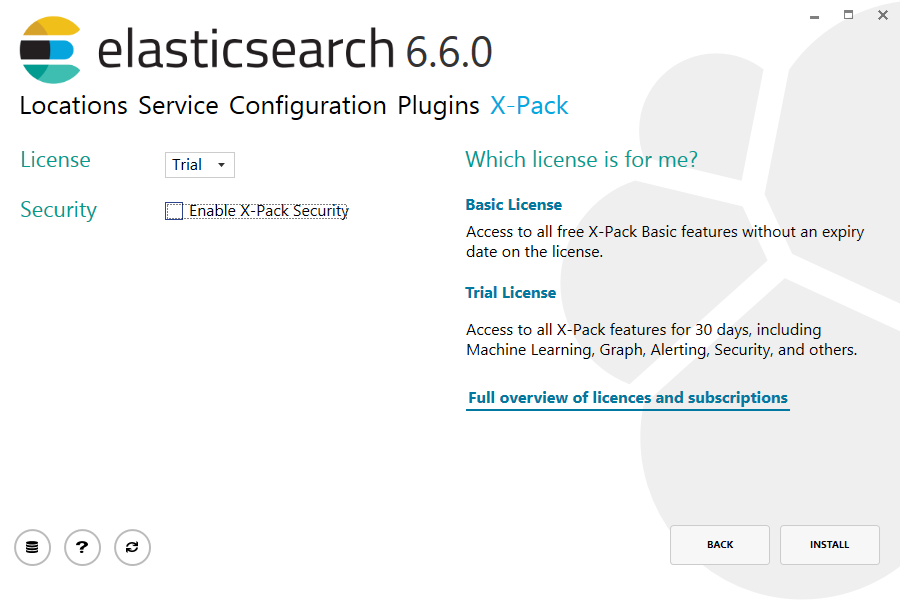
Click on “Enable X-Pack Security” and then click Next button
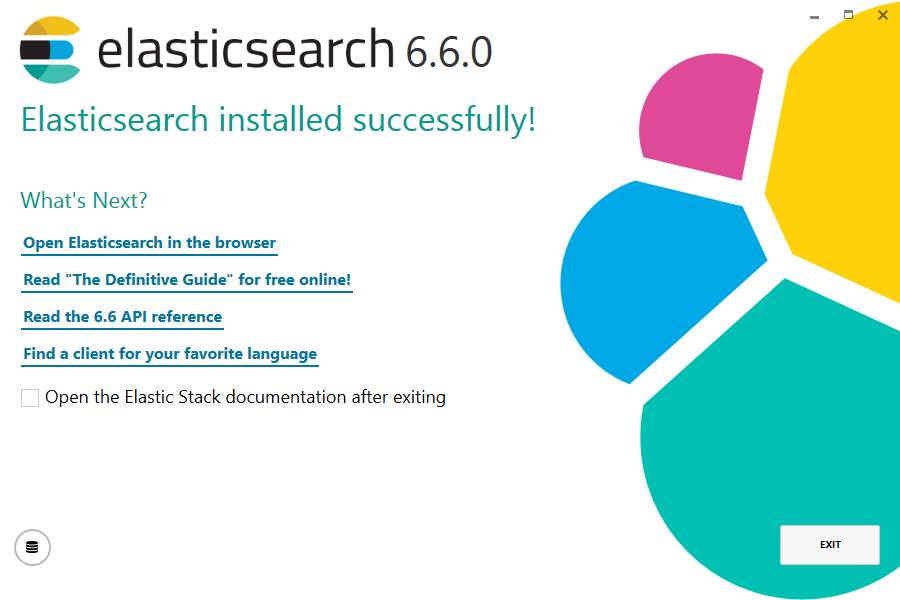
Now elasticsearch has successfully installed
To verify, open web browser and type the IP address and port number, you should see like below screen
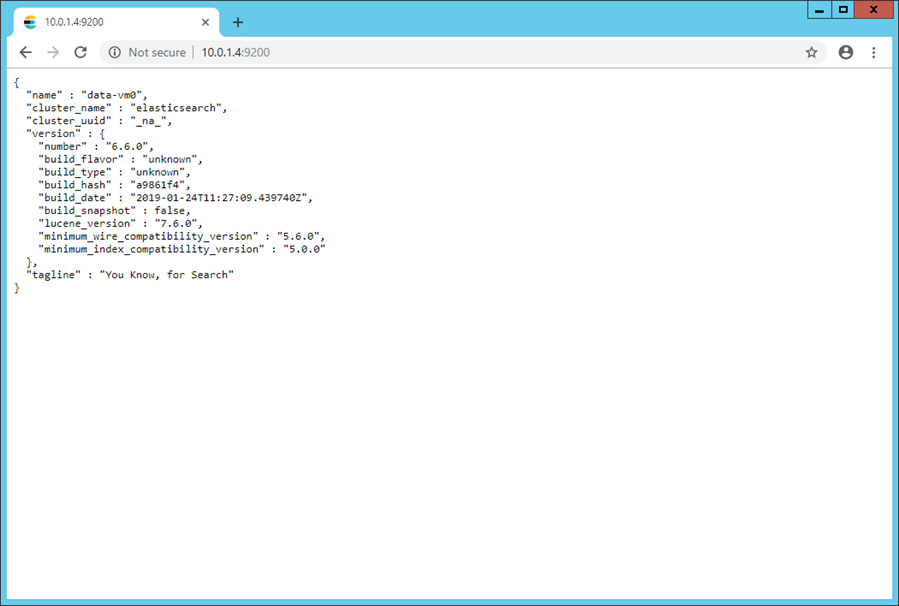
ElasticSearch “Data” role has installed on “elasticsearch-data-vm0”. Now do the same above steps on “elasticsearch-data-vm1”.
After you finished installation on “elasticssearch-data-vm1”, your Search Cluster Services is ready for use 🙂